Overview: cPanel File Manager gives you useful option to quickly manage your files within the cPAnel interface.
It’s easy to use and it removes the hassles of using FTP. You can create, upload, modify or remove files from the interface. It also gives the feature of moving files to trash before permanently deleting them, from which it can be recovered later.
It is a less sophisticated feature that provides all the basic functionality required to manage a website.
Whether it’s creating, uploading, and organizing files, or changing file permissions, the file Manager streamlines every task to expedite the process of running a website.
This tutorial will give you detailed instructions on how to use the file manager on your cPanel account.
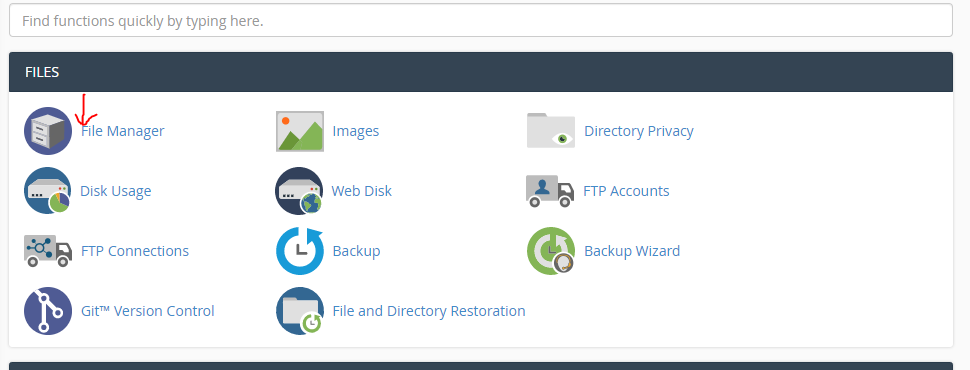
Step 1: Accessing the file Manager
To find the file Manager, login to your cPanel and go to the files section File Manager Menu.
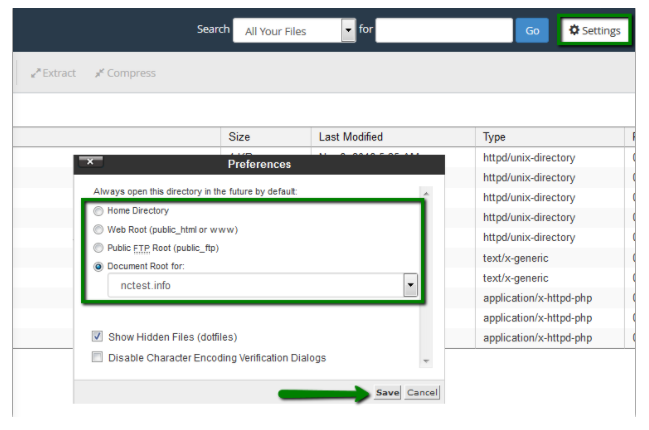
This should take you to the default setting in the /home/user directory. You can change the default options in the setting menu.
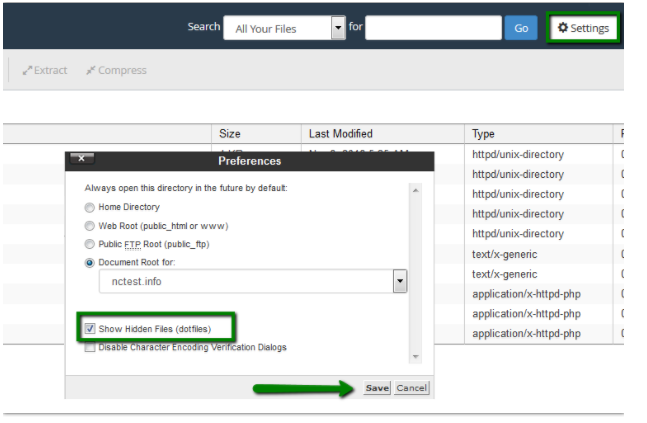
You can also enable the “Show Hidden files (dotfiles)” option to access the files like. Htaccess in your file Manager.
The public_html folder, which acts as the web root for your domain name, is the location for all your web files that will be displayed every time a visitor types your domain name on the search box.
The file Manager Page is divided into four sections: The file Manager Toolbar, The file window, navigation toolbar, and the location window.
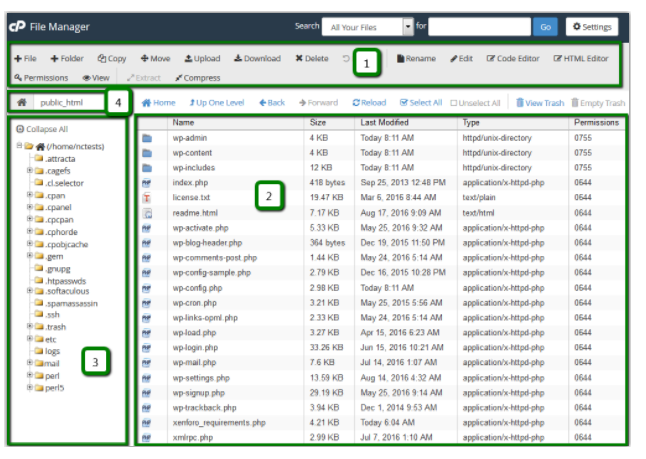
# File Manager Toolbar: The toolbar which is the first section in the file Manager contains the basic functions to manager different files like create a new folder, upload or download a file, delete a file, and much more.
# File Window: Then there is the file>Listing area where you will see the content in the directory you selected. If there are no folders created, the directory will be empty.
# Navigation toolbar: The navigation toolbar tab allows the user to navigate between folders and files in the file window.
# Location window: The last section location window displays the current directory that you are working on.
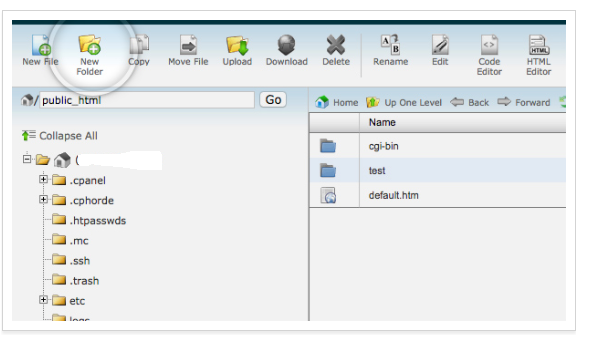
Step 2: Creating a New Folder.
Folders allows for easier maintenance of a website since they provide a useful way of adding key information about specific projects maybe working on. It’s easier to list the files in each folder.
To create a new folder on the file Manager, go to the New Folder button.
After that A pop-up box will appear for you provide the folders name and where you want it to be stored. Once you type the details, hit the create new folder button.
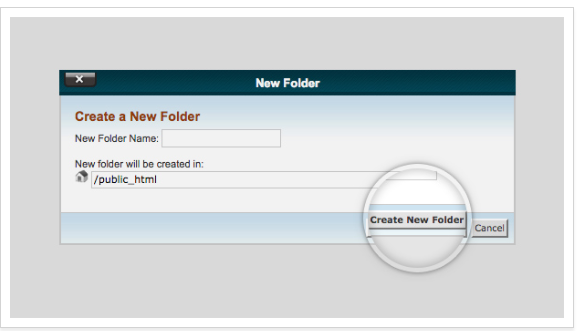
You folder will appear in the specified location.
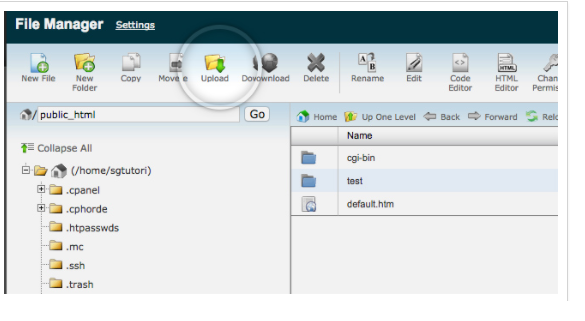
Step 3: Uploading a file:
To Start uploading files via the file Manager, navigate to the location you wish to upload your file, hit the upload button.
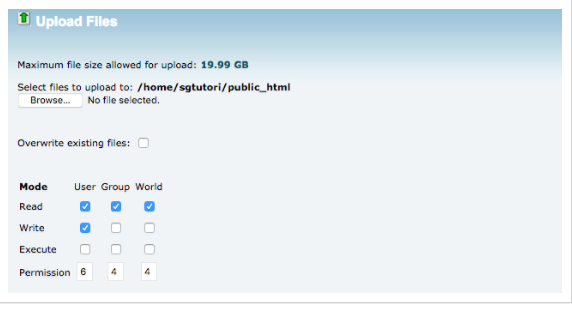
You will see a new page where you can upload your files to a folder. Just hit the select file button and locate the place where you want to save your file. Click Open/choose, or you can simply drag and drop the files to your new folder.
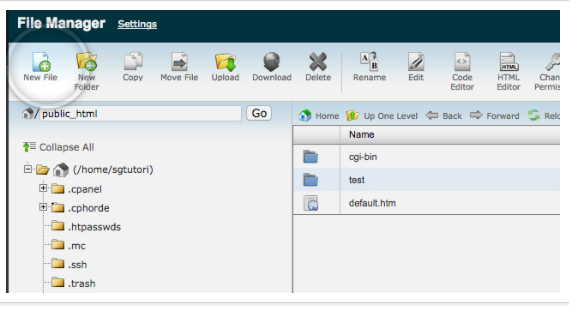
Step-4: Creating a new File:
To create a new file, click on the New file tab.
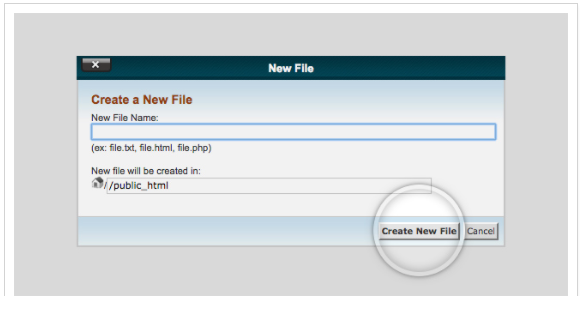
A new pop up will appear where you will be required to provide the name of the new file and the desired location.
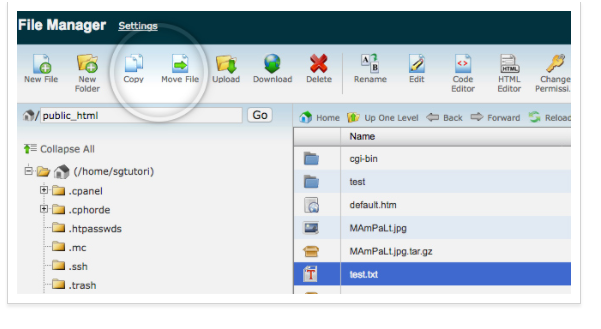
Step-5: Copying/Moving a file
In the file manager you can move or copy files to your desired destination in your account. To do so, use the move or copy icon.
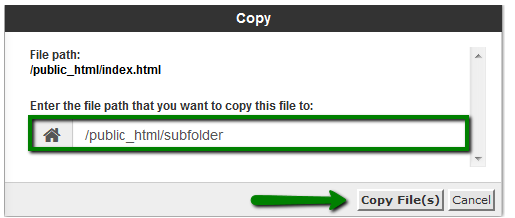
A new pop up box will appear for the confirmation.
Step-6: Editing a File
In File manager you can edit a file through the file Manager when you want to make changes to your site.
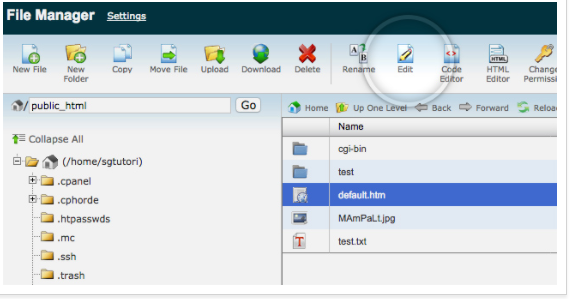
There are three more option in the file: Edit, Code Editor, and HTML Editor from the menu.
# Edit: This option will help you edit any file as a plain text.
# Code Editor: This option will allow you to edit a file as a code and provide line numbers on the side of this editor
# HTML Editor: This option will allow you to edit a file as an HTML document. You have the privilege to switch between different options including design view, preview mode, or source view.
Step-7: Deleting a file:
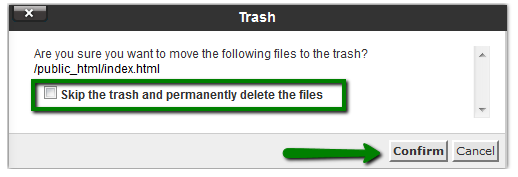
To delete a file in file manager, go to the folder you want to delete and highlight the files then click the Delete button. You can also right-click on the document you want to delete and click the Delete button. A pop-up box will appear to confirm your deletion.
To delete the files permanently, mark the Skip the trash and permanently delete the files box.
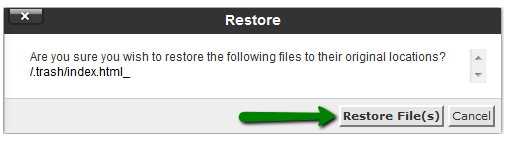
Step-8: Restoring a File:
In the file Manager, go to the trash folder and choose the files you want to recover. Click on the Restore File button. Once the process is done, you will see a pop-up window to confirm that you want to restore these files.
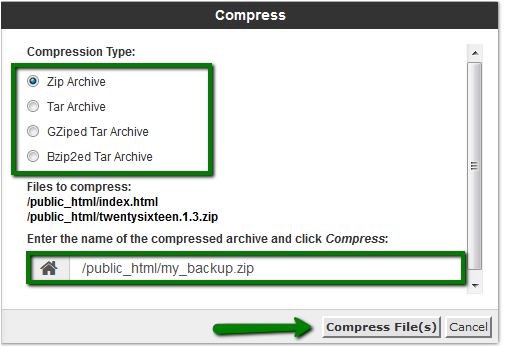
Step-9: Compressing a file:
For compress the file go to the file Manager, choose the file you want to compress and click the compress button. Indicate the compression type you prefer and include the name of the file. Click the compress files button to complete the process.
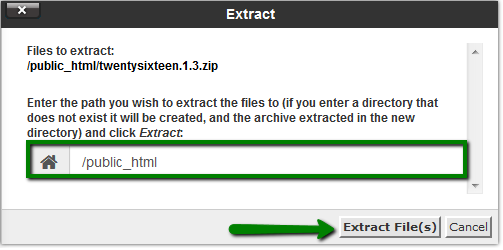
If you want to extract a file, select the file you want to extract and click the Extract button. Include the path you want the extracted file to go and then click the Extract File(s) icon.
Conclusion: There you have it. A complete guide with step by step instructions on using the File Manager on cPanel. It’s your turn to try them out!
